
Although your router comes with sufficient range to provide you complete WiFi range throughout your home or office, yet it is not enough to fill a larger home or apartment with WiFi. Due to this, dead zones can disturb you while streaming videos, listening to music, or completing an online task. However, performing the Nighthawk AC1750 setup can help you a lot in vanishing dead zones or blind spots. This Netgear Nighthawk router provides you 450+1300Mbps WiFi speed and comes with a powerful dual-core 1GHz processor.
Despite the fact that WiFi routers are efficient and easy to use, it is a bit difficult to configure them. More than 50 percent of users across the globe experience issues while installing their Netgear Nighthawk router. Sensing this need, we have come up with this post to help you set up your Netgear Nighthawk router in haste. Let us dig a little deeper!
How to Install Netgear Nighthawk AC1750 Router
The Placement
The placement of your AC1750 is the key to setup a Netgear router with ease. That is why, we recommend keeping your Netgear router in an open, higher, and center location of your home.
The Wall Socket
Another thing to bear in mind while installing your Netgear Nighthawk router is to plug it into a working wall outlet.
For the best WiFi coverage, place your Netgear router halfway between your modem and the area without WiFi.
Turn on Your Netgear Nighthawk Router
Once done with the placement process, power on your Netgear Nighthawk router by pushing the on/ off button. After pushing the power button, the power LED on your router will start blinking and become stable shortly.
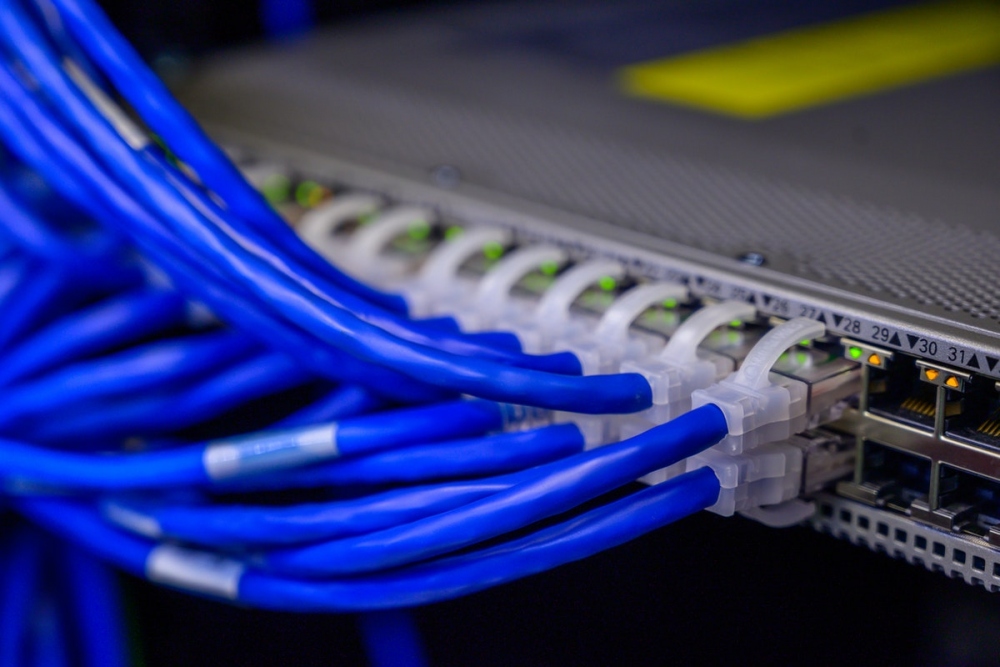
Make a Cable Connection
Take an Ethernet cable. Use it to connect your Netgear Nighthawk router and your modem. Ensure that the Ethernet cable you are using doesn’t have any sort of cuts or damage on it. Also, ensure that the cable connection you have made is precise and finger-tight.
Open a Web Browser
Turn on any WiFi-enabled device of your choices like a PC or laptop. Load up a web browser on it. After opening the web browser, hover your mouse cursor over the browser’s address bar and click on it. Enter routerlogin.net and hit the Enter key or click on Search.
Log In to Your Router
The next step is to access the Nighthawk router setup page. For this, you have to:
- Enter the default router login credentials into the required fields.
- Click on Log In.
You’re All Done!
Once you are on the dashboard of your Netgear router, follow the on-screen prompts and configure your AC1750 in haste. Now, you can unplug your Netgear Nighthawk router and place it anywhere in your home.
Note: If you have changed the default router login credentials earlier, the default ones will no longer work. So, ensure to use the correct credentials. In the event that you forgot your login credentials, then here’s how to recover them.
- Launch a web browser on a computer connected to your home WiFi network.
- Enter routerlogin.net or default Netgear router IP address into your web browser’s address bar field.
- The router login window displays.
- Click on Cancel.
- The Netgear Router Password Recovery window displays.
- Enter your router’s serial number and click on Continue.
- Select and answer security questions of your choice.
- Click on Continue.
- Your admin password displays.
Pro Tip: You can also use the Netgear Nighthawk app for the configuration and changing the security settings like the admin password of your AC1750 router. On the off chance if you experience the Netgear Nighthawk app not working, contact our technical executives immediately via comments.


Recent Comments